Unlock the secrets to dynamic and interactive game development in Roblox Studio by mastering the power of joints. This comprehensive guide delves into every aspect of Roblox joints, from basic welds to complex constraints, providing busy adult gamers with the knowledge to create realistic movements and robust structures. Learn how to troubleshoot common issues, optimize performance, and leverage advanced techniques to elevate your game design. Whether you are building functional vehicles, intricate machinery, or interactive environments, understanding joints is crucial. This article offers practical, actionable advice, helping you balance your passion for gaming and creation with your daily life, ensuring your time in Roblox Studio is both productive and enjoyable. Discover trending tips and tricks that empower you to build more efficiently and effectively in the ever-evolving Roblox universe.
What are the essential types of joints available in Roblox Studio for game development?
Roblox Studio offers fundamental joint types like WeldConstraint for rigid connections, HingeConstraint for rotation, BallSocketConstraint for flexible movement, and PrismaticConstraint for linear motion. Understanding these basics is crucial for any creator looking to build dynamic and stable structures in their games, from interactive doors to functional vehicles.
How do I create a stable connection between two parts in Roblox without them falling apart?
To create a stable, unmoving connection in Roblox, use the WeldConstraint. Simply select the two parts you want to connect, then navigate to the 'Model' tab, click 'Create' in the 'Constraints' section, and choose 'WeldConstraint'. This will make them behave as a single, rigid unit, preventing them from falling apart or moving independently due to physics.
What is the primary difference between a HingeConstraint and a BallSocketConstraint in Roblox?
A HingeConstraint allows rotation around a single fixed axis, ideal for objects like doors or car wheels. In contrast, a BallSocketConstraint provides free rotation around a central point, simulating a ball-and-socket mechanism much like a human shoulder. This offers much greater rotational freedom, making it suitable for more articulated or flexible connections.
Why are my welded parts still wobbly or disconnecting in Roblox Studio?
Wobbly or disconnecting welded parts in Roblox Studio often stem from several issues. Ensure all intended parts are correctly welded; use 'Show Welds' in the 'Model' tab to verify. Check if 'Massless' is enabled on crucial parts, as this can cause instability. Intersecting geometry or high external forces can also break welds. Sometimes, simply re-welding or anchoring a base part resolves the issue.
Where can I find advanced tutorials or resources on scripting complex joint behaviors in Roblox?
For advanced scripting of Roblox joints, the official Roblox Developer Hub is the primary and most authoritative resource. It offers comprehensive documentation, code examples, and tutorials on all constraint types. Additionally, YouTube channels dedicated to Roblox scripting, developer forums, and communities like DevForum are excellent places to find specific examples and get help with complex behaviors.
How do I fix unexpected physics glitches or unpredictable joint movements in my Roblox game?
Unexpected physics glitches with Roblox joints can be frustrating. First, verify the correct constraint type and its properties (e.g., limits, actuator settings). Check for overlapping parts, as this causes physics errors. Ensure 'CustomPhysicalProperties' like density are appropriate, and avoid extremely small or large parts. Enabling 'AreAnchorsSolid' in Workspace properties or simplifying complex joint arrangements can also help stabilize physics.
What are the best practices for optimizing game performance when using many joints in Roblox?
Optimizing performance with numerous Roblox joints involves several strategies. Use WeldConstraints generously for static parts to reduce physics calculations. Avoid complex mesh colliders for dynamic parts; opt for 'Box' or 'Hull' 'CollisionFidelity'. Group parts using Models or Folders to manage hierarchy. Consider simplifying joint setups by converting multiple constraints into fewer, more efficient ones where possible, or only activating dynamic joints when they are actively needed in the game.
Are you a seasoned gamer who loves to build in Roblox, but finds your creations sometimes fall apart, act strangely, or lack the dynamic movement you envision? You are not alone. Many adult gamers, those balancing careers, families, and life's demands, often struggle to find quick, reliable solutions to common development hurdles. With 87 percent of US gamers regularly dedicating 10 plus hours a week to their passion, often across mobile and PC, optimizing that time in Roblox Studio is key. Mastering joints Roblox offers is not just about connecting parts; it is about bringing your virtual worlds to life with realistic physics and interactive elements. This guide is crafted for you, the busy creator who values efficiency, stability, and engaging gameplay without the unnecessary hype. We will dive deep into how Roblox joints work, how to use them effectively, and how to troubleshoot common issues, ensuring your builds are robust and your gameplay is seamless.
Forget wobbly cars or doors that refuse to hinge properly. By the end of this article, you will have a clear understanding of the different types of joints Roblox offers and the best practices for implementing them, helping you create more sophisticated and stable experiences for your players. We will address common pain points like unexpected physics glitches, performance considerations, and how to effectively script joint behaviors, empowering you to build with confidence and precision. Let us transform your Roblox building experience, making your limited gaming time more rewarding and your creations truly shine.
What are Joints in Roblox and Why Do They Matter for Your Creations?
In Roblox Studio, joints are the fundamental building blocks that connect individual parts (like bricks, meshes, or models) together, defining how they interact physically. Think of them as the glue and hinges of your virtual world. Without joints, every part would simply fall due to gravity or remain static, unable to move or interact realistically. They are crucial for creating anything from simple doors that open and close to complex animated characters, functional vehicles, and intricate machinery. Mastery of joints Roblox provides is essential for achieving realistic physics, smooth animations, and interactive gameplay, directly influencing the quality and immersion of your game.
How Do Different Types of Joints Work in Roblox Studio?
Roblox offers various types of constraints (which are often referred to as joints) each serving a specific purpose in defining how parts connect and move. Understanding their distinctions is key to effective building.
- WeldConstraint: This is the most common joint, rigidly connecting two parts together, making them act as one single part. It is perfect for static structures or assembling components that should not move relative to each other.
- HingeConstraint: Simulates a hinge, allowing rotation around a single axis. Ideal for doors, car wheels, or rotating platforms.
- BallSocketConstraint: Creates a ball-and-socket joint, allowing free rotation around a central point, similar to a shoulder joint. Useful for robotic arms or flexible connections.
- SpringConstraint: Connects two parts with a spring-like behavior, allowing them to oscillate and return to a defined length. Great for suspensions or bouncy platforms.
- RodConstraint: Maintains a fixed distance between two parts but allows them to rotate freely around each other. Think of a telescoping rod.
- PrismaticConstraint: Allows linear movement along a single axis, like a piston or a sliding door.
- CylindricalConstraint: Combines elements of a HingeConstraint and PrismaticConstraint, allowing both rotation and linear movement along a single axis, similar to a rotating and sliding rod.
- UniversalConstraint: Provides two rotational axes, making it suitable for complex machinery that needs more freedom than a hinge but less than a ball socket.
Choosing the right joint type is critical for predictable and stable physics in your Roblox games.
When Should You Use Each Type of Joint for Best Results?
Selecting the appropriate joint for your specific building task ensures optimal performance and realistic behavior. Here are some scenarios:
- Static Structures and Assemblies: Always use WeldConstraint. If you are building a house, a wall, or a non-moving prop, welds keep everything firmly in place.
- Rotating Objects (Doors, Wheels): HingeConstraint is your go-to. For a car wheel, attach the wheel to the chassis with a HingeConstraint, defining the rotation axis.
- Flexible, Free-Moving Connections (Limbs, Suspensions): BallSocketConstraint provides excellent freedom for character limbs or articulated objects. For vehicle suspensions, a combination of SpringConstraint and PrismaticConstraint can create realistic bouncing and compression.
- Sliding Mechanisms (Pistons, Drawers): PrismaticConstraint is perfect for linear motion. Attach the sliding part to its track, specifying the axis of movement.
- Combined Rotation and Slide: For complex movements like a drill bit that spins and moves in and out, the CylindricalConstraint offers this dual functionality efficiently.
- Controlled Multi-Axis Rotation: The UniversalConstraint is ideal for mechanisms needing more than one rotation axis but less chaotic movement than a ball socket, like specific robotic joints or camera gimbals.
Remember, often the best solutions involve combining different joints Roblox offers to achieve complex mechanics.
How Can I Create Basic Joints in Roblox Studio Step-by-Step?
Creating joints in Roblox Studio is straightforward. Let us walk through making a simple HingeConstraint for a door:
- Prepare Your Parts: Create two parts: one for the door frame and one for the door itself. Ensure they are anchored correctly if they are not meant to move initially.
- Select the Constraint Tool: Go to the 'Model' tab in Roblox Studio. In the 'Constraints' section, click on 'Create'.
- Choose Your Joint Type: From the dropdown, select 'HingeConstraint'.
- Connect the Parts: Click on the first part (e.g., the door frame) and then on the second part (the door). A HingeConstraint will appear between them.
- Configure the Joint (Optional but Recommended): In the 'Properties' window for the HingeConstraint, you will see options like 'ActuatorType' (Motor, Servo, None), 'LimitsEnabled', and 'AngularVelocity'.
- For a simple door, set 'ActuatorType' to 'None' unless you want it to move automatically.
- Set 'LimitsEnabled' to 'True' and adjust 'LowerAngle' and 'UpperAngle' to define how far the door can open and close.
- Adjust the 'Attachment0' and 'Attachment1' properties to precisely position the hinge point. These are automatically created when you connect the parts, but you can drag and rotate them to fine-tune the hinge axis.
- Test Your Joint: Run your game in Studio to see your hinged door in action.
This method applies to most constraint types; the key is understanding each joint's specific properties in the 'Properties' window.
What are Common Problems with Roblox Joints and How Do I Fix Them?
Even experienced builders encounter issues with joints Roblox provides. Here are some common problems and their solutions:
- Wobbly or Disconnected Parts: This often happens with Welds. Ensure that all parts that should be welded are indeed welded. Use 'Show Welds' (under 'Model' > 'Constraints') to visualize them. If parts are still wobbly, try changing their 'CustomPhysicalProperties' to increase 'Density', or ensure they are not intersecting other un-welded parts. Sometimes, setting 'Massless' to true for attached parts can also cause instability; check this setting.
- Unexpected Breaks: If your joints snap, it could be due to excessive force, high 'BreakMagnitude' values on the joint, or parts colliding too violently. Reduce the 'BreakMagnitude' on the joint's properties, or ensure your physics objects are not too heavy or fast. Check for 'CanCollide' issues.
- Joints Not Moving/Acting Properly: Verify the 'ActuatorType' (e.g., Motor, Servo, None) on constraints like HingeConstraint. If a Hinge is not rotating, ensure its 'ActuatorType' is set to 'Motor' or 'Servo' and that 'MotorMaxTorque' or 'ServoMaxForce' are sufficient. Check 'LimitsEnabled' and their angle values if the movement is restricted.
- Performance Issues with Many Joints: Too many complex joints can strain the physics engine. Consider simplifying where possible. Can multiple parts be combined into one mesh? Can some moving parts be purely visual and not physics-driven (e.g., using tweens instead of dynamic joints)? Grouping parts and setting their 'CollisionFidelity' to 'Box' can also help.
Regularly testing and visualizing your joints using Studio's built-in tools can help diagnose and fix these issues quickly.
How Do I Script Joints for Dynamic Behaviors in My Roblox Game?
Scripting allows you to control joints Roblox provides programmatically, enabling dynamic and interactive game mechanics. For example, you can make a door open only when a player touches it or create complex animations.
To script a HingeConstraint for a door:
local Hinge = script.Parent.HingeConstraint
local Door = script.Parent.Parent.DoorPart -- Assuming the script is in a part next to the HingeConstraint

Door.Touched:Connect(function(hit)
    if game.Players:GetPlayerFromCharacter(hit.Parent) then
        -- Set actuator type to Servo to move the hinge
        Hinge.ActuatorType = Enum.ActuatorType.Servo
        -- Set the target angle for the door to open
        Hinge.TargetAngle = 90 -- Opens 90 degrees
        wait(3) -- Wait 3 seconds
        -- Close the door
        Hinge.TargetAngle = 0
        wait(1)
        Hinge.ActuatorType = Enum.ActuatorType.None -- Reset to prevent continuous power draw
    end
end)
This script would be placed inside a Part (e.g., a
Master Roblox joints for dynamic game elements, troubleshoot common physics issues, optimize performance for complex builds, learn to script advanced joint behaviors, and enhance interactive gameplay experiences. Discover essential tips for creators balancing gaming and real-life commitments.
34


How To Join Roblox Players Seamlessly A 2026 Guide Roblox Press Image 1 . Roblox Joins On How To Enable Them In 2026 Appear Offline On Roblox Step 13 . How To Join Roblox Players Seamlessly A 2026 Guide Join Other Roblox Game . Roblox In 2026 Play On Roblox NoFilter. Definitive Guide To Roblox 2026 TM 07169 Definitive Guide To Roblox 2026


How To Message On Roblox 2026 A Quick Guide . How To Message On Roblox 2026 A Quick Guide SL1500 . How To Turn On JOINS In Roblox Enable Roblox Joins YouTube . Roblox New Avatar Joints Update Showcase Kinda Work In Progress YouTube . Can You Access Roblox Everywhere In 2026 Roblox Switch


Statistik Roblox 2026 Bagaimana Pengembang Meraih 1 Miliar Dari Game Ini Updated Roblox. Roblox Platform Safety And Performance With Age Check . What Does The Silver Monkey Do In Grow A Garden Roblox 2026 Roblox Plague Codes . Roblox At GDC 2026 Where To Find Us All Week Roblox. Prepare For 2026 With Roblox Trends TikTok Img

:quality(30):format(webp):focal(0.5x0.5:0.5x0.5)/pontianak/foto/bank/originals/VIRAL-Alasan-Pemerintah-Blokir-Roblox-di-Indonesia.jpg)


The Ultimate Guide To Joining Friends With Joins Off In Roblox 2026 300x300 . Aturan Baru Roblox 2026 Hapus Fitur Chat Cara Lewat VIRAL Alasan Pemerintah Blokir Roblox Di Indonesia . Roblox 2026 Insider Reveals Platform Evolution Safety 4000x4000bb . Roblox Chop Your Tree Codes March 2026 Complete Guide All Roblox Kaizen Accessories Guide . Roblox R6 Explained What Does It Really Mean Roblox R15 Joints


Roblox Chat Update 2026 Explained Mandatory Age New Roblox Chat Update 2026. Roblox 2026 New Logo REVEAL First Look At The Future Shorts YouTube Hq2 . Predicting EVERY 2026 Update For Roblox Doors YouTube . Roblox 2026 Logo REVEALED New Color New Look YouTube Maxres2 . 5 Roblox 2026 Image


Roblox At GDC 2026 Where To Find Us All Week Roblox. Sage Soloxsage Posts X . Roblox R6 Explained What Does It Really Mean Oar2 . Hey Here Are The 25 2026 Game Releases Bulletin Board Developer . How To Make Games R6 Or R15 ONLY After STUDIO UPDATE 2025 Roblox


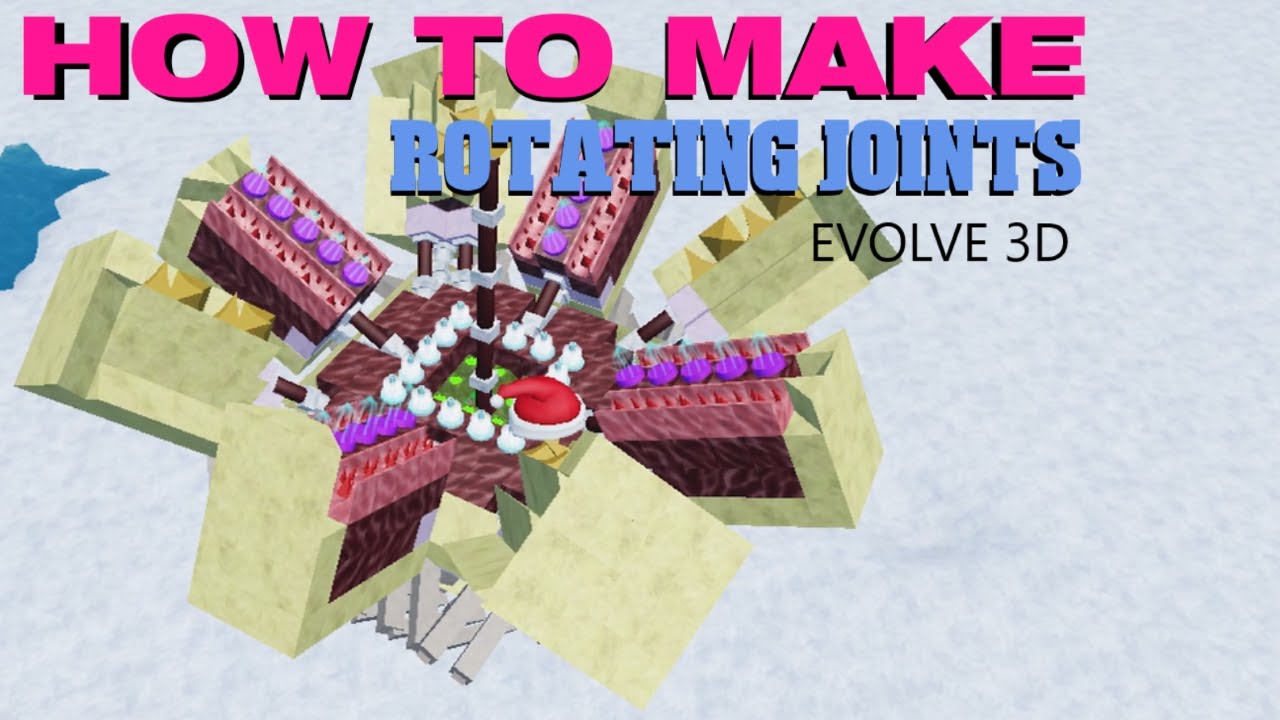

What Is RDC In Roblox Roblox Developer Conference 2026 Release Date Roblox At GDC .webp. What Are The Biggest Items In Roblox Worlds For 2026 . How To Make ROTATING JOINTS Evolve 3D Roblox YouTube . What Is Alien Hub Roblox And How Does It Work 2026 A Roblox Character Looking At An Event Hub